Dust-Free Sanding
Dust-free sanding is a controlled bodyshop workflow that removes and prevents dust contamination at every stage of sanding, so paint defects are eliminated before clear coat instead of repaired afterward.
Dust contamination during sanding is the most common cause of paint defects in bodyshops, and the most preventable. This page walks you through the complete controlled sanding workflow: the right technique, the right products, and the systematic process professional bodyshops use to eliminate rework before it costs you time.
You'll learn where contamination comes from, how to eliminate it at the source, and how to build a workflow so dust-free sanding becomes automatic, not a special procedure.
- The five-step process professional bodyshops use
- Why each step matters (and what breaks if you skip it)
- Which products enable this workflow (and why)
- Common mistakes and how to avoid them
- What to do when something goes wrong
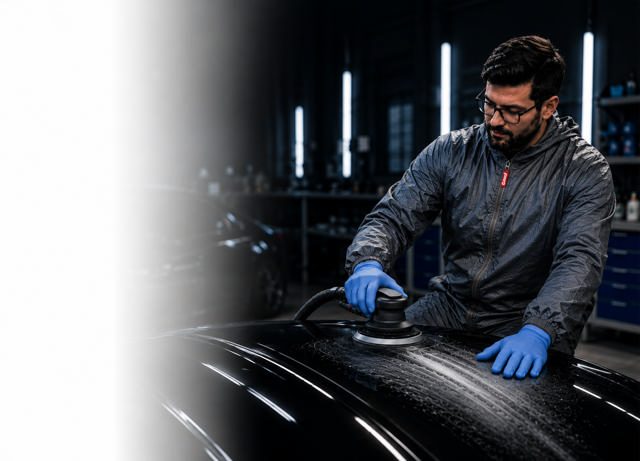
Dust is not the hidden cost. Rework is.
In most bodyshops, dust is treated as inevitable. It isn't. Here's what actually happens: contamination (dust, static, grease, fingerprints) enters during surface prep and moves unnoticed through sanding, then reveals itself hours later, after clear coat is applied. By that point, you're paying someone to fix what prep should have prevented.
Shops with uncontrolled dust lose, per panel and per week:
- 2 to 3 extra cleaning and sanding passes per panel
- 15 to 20 additional minutes per panel due to rework
- 1 full repair per technician per week
- Inconsistent results from one job to the next
Across a 3-technician team, that's 0.6 FTE lost to rework compensation work, roughly €17,784 per year in labor you're paying for but losing to preventable rework.
Why does contamination stay hidden until it's too late?
- Contamination is invisible. A panel looks clean during prep, but particles are already bonded to the surface.
- Dust travels. It doesn't stay where you sand. It follows air movement and static charge.
- Abrasives load up. When you sand over contamination, the abrasive clogs instead of cutting cleanly.
- Defects show late. Fish eyes and inclusions don't appear until hours after you apply clear coat.
That's why rework costs so much: you've already invested time in prep, sanding, and base coat before you discover the problem.
This is not unavoidable. It's preventable. But it requires understanding where contamination comes from, and building a systematic process to eliminate it at the source.
Annual cost of preventable rework, 3-technician team
How we arrived at this number:
| 1 preventable rework per tech/week | ×3 techs ×52 wks |
| = 156 rework events/year | ×€114/event |
| Per event: re-sand, respray, re-bake | ±2.5–3 hrs + materials |
| 156 events × €114 | = €17,784 |
Conservative vs. published industry benchmarks of $181–300 per reworked panel (ABRN/FenderBender). Excludes blocked booth slots, delayed deliveries and courtesy-car days. Track your own redo rate to refine the figure.
This is money you're already paying out. The question is: are you preventing the problem or treating the consequence?
Why This Matters: The Contamination Timeline
Every sanding defect traces back to one of these stages. Contamination enters in the first two prep and sanding then stays hidden until it surfaces as a defect.
Prep
Applied
Applied
Visible
Contaminants land
Dust, grease, fingerprints settle on the substrate.
Contamination airborne
Sanding spreads particles. Discs load with debris.
Now invisible
Trapped. Hours invested. Still undetectable.
Fully sealed
Fully encapsulated. Still undetectable until defects appear.
The cost appears
Fish eyes, dust spots, inclusions. Rework required.
This timeline shows the core problem: contamination is invisible until it's too late to fix. By the time you see fish eyes or inclusions, you've already invested hours in the first three stages. That's why the 3-layer system below works it eliminates contamination at every stage, preventing it from reaching the later stages where it costs the most time and money to fix.
The 3 Layers That Determine a Cleaner, More Repeatable Sanding Result
Every avoidable sanding defect starts in one of these three layers. When one layer fails, the next one has to compensate.
Layer 1: Surface Preparation
Remove what doesn't belong, neutralize what attracts dust
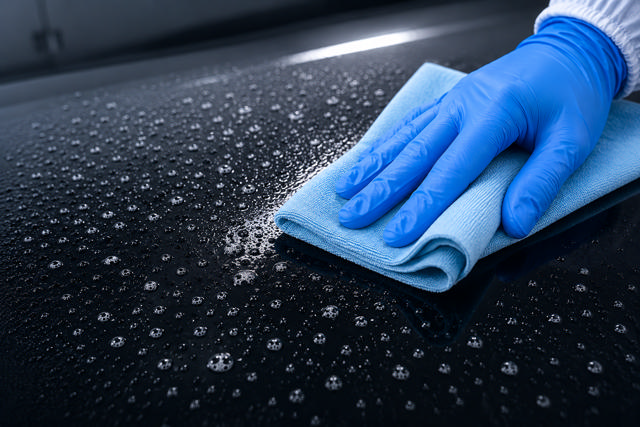
Removing silicone, grease, wax, fingerprints, and other 'stickiness' agents that bond dust to the surface during sanding.
Contamination isn't just on the surface it's bonded to it. During sanding, these particles become part of the dust cloud. They settle back onto the panel, creating inclusions and defects invisible until after clear coat.
- DGRHC Silicone Remover: Non-residue degreaser, auto-refinish rated. Removes silicone, grease, wax without leaving residue that interferes with sanding.
- Lint-free cloths: Prevent fiber contamination. Regular cloth leaves fibers = new contamination.
Dust bonds to residue → Abrasive loads up → Extra passes needed → Rework required weeks later
Layer 2: Sanding System
Cut and refine without spreading or creating contamination
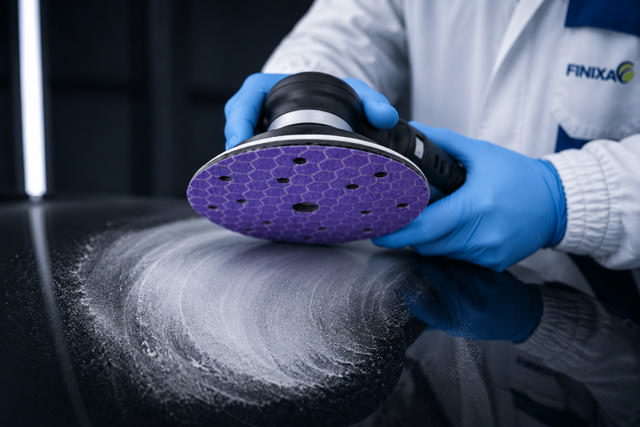
Using the right abrasive and the right technique to cut the surface evenly and consistently without loading up, gouging, or burning the substrate.
If the abrasive isn't self-clearing, it loads up (clogs with dust particles), forcing you to sand harder and longer. That uneven, over-worked cut damages the substrate and shows up later as color variation.
- Finixa SPDI Purple Ceramic discs: Self-sharpening ceramic grain that doesn't load up. Delivers a faster, cleaner, longer-lasting cut.
Abrasive loads up → Substrate burn → Color variation → Extra polishing needed → Rework
Layer 3: Dust Extraction
Capture particles at the source, prevent them from spreading
Maintaining steady, sufficient airflow through the sanding tool so dust is evacuated as it's created, not settling on the panel or floating across the workspace.
Even if prep was clean and sanding was consistent, weak extraction means dust particles float across the panel during sanding. They settle on wet surfaces and bond with air-borne moisture, creating water spotting and adhesion failures.
- Industrial extraction system (Hamach HCV 5000 TQ / CMV 8-M EA/PA): Maintains 4500+ m³/hr continuous airflow under sustained load. Shop vacuums drop to 2000–3000 m³/hr in use and keep losing pressure as they fill.
- Why the "continuous" rating matters: Continuous airflow holds steady after 8 hours of use. Shop vacuums were built for intermittent use, not production environments so their airflow fades exactly when you need it most.
Dust settles on panel → Bonds with moisture → Adhesion failure → Fish eyes after clear coat → Rework
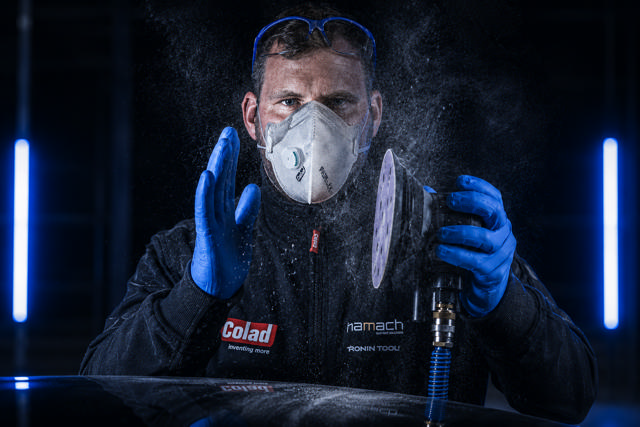
How These Layers Work Together
Each layer is a safety net for the others:
- If Layer 1 (prep) fails: Layer 2 (sanding) and Layer 3 (extraction) have to work harder, and failures still happen.
- If Layer 2 (sanding) fails: Layer 3 (extraction) can't capture all the contamination, and prep work is wasted.
- If Layer 3 (extraction) fails: Dust settles back on what you just cleaned and sanded.
That's why they're called "layers" each one builds on the last. Skip one, and the system breaks down. Below, you'll learn exactly how to execute each layer, step by step, and which products enable each one.
The three layers above explain why dust-free sanding works. The five-step process below is how you put them into practice: Step 1 delivers Layer 1, Step 2 delivers Layers 2 and 3 together, and Steps 3–5 lock the clean result in before coating.
The Dust-Free Sanding Process, Step by Step
This is the complete workflow used by professional bodyshops to eliminate dust contamination. Each step builds on the last skip one and the system breaks down.
Step 1: Prepare the Surface
Clean, degrease, and neutralize static before sanding begins
Clean the panel with a silicone remover and lint-free cloth. Remove silicone, grease, wax, fingerprints, and sanding residue.
- Spray or wipe DGRHC Silicone Remover onto the surface - Spray: 2-3 light mists (don't soak) - Wipe: Overlap your motions, don't miss edges - Coverage: Entire panel
- Wait 30-60 seconds - Why: Chemical needs time to break molecular bonds - Too fast: You remove surface grease, miss subsurface contamination - Duration: Depends on contamination level (heavy = 60s, light = 30s)
- Wipe clean with lint-free cloth - Use only lint-free or microfiber - Why: Regular cloth leaves fibers (= new contamination) - Technique: Wipe in one direction, don't reuse cloth - Inspection: Hold panel to light, look for streaks
- Inspect for residue - Oily sheen = Missed contamination - Water marks = Degreaser residue - Dust attraction = Static charge present - If any visible: Repeat steps 1-3
Silicone, grease, and fingerprints are 'stickiness' agents. If you skip this, dust bonds to these agents during sanding. That dust becomes rework later.
Silicone residue → dust sticks → rework → 2-4 extra hours per panel

DGRHC Silicone Remover
What it does: Removes silicone, grease, wax without leaving residue
Why this product: Other degreasers leave streaks or film that interferes with sanding consistency. DGRHC doesn't.
Why it matters for this workflow: Step 1 requires complete contamination removal + no residue. DGRHC does both.
Alternatives: Any non-residue, auto-refinish degreaser (must be rated for both waterborne and solvent systems)
Step 2: Sand with Dust Extraction
Connect extraction at the tool. Maintain steady airflow while sanding. Dust is evacuated as created, not spreading across the panel.
1. Connect extraction hose to sanding tool - Secure connection (no leaks) - Verify airflow is active before sanding
2. Maintain steady pressure and speed - Don't force the tool - Let the abrasive do the work - Consistent speed = consistent cutting
3. Extraction must be active during entire sanding process - If you pause sanding: extraction stays on - Dust continues to be captured even during tool transitions
4. Monitor abrasive condition - If abrasive loads up (stops cutting cleanly): replace disc - Loading indicates contamination in the dust cloud - Loading = substrate damage risk
If prep was clean but extraction is weak, contamination still spreads across the panel. The abrasive will load up (clog with dust particles), forcing you to sand harder and longer. That damages the substrate.
Weak extraction → dust spreads → abrasive loads → substrate burn → color variation → extra polishing needed
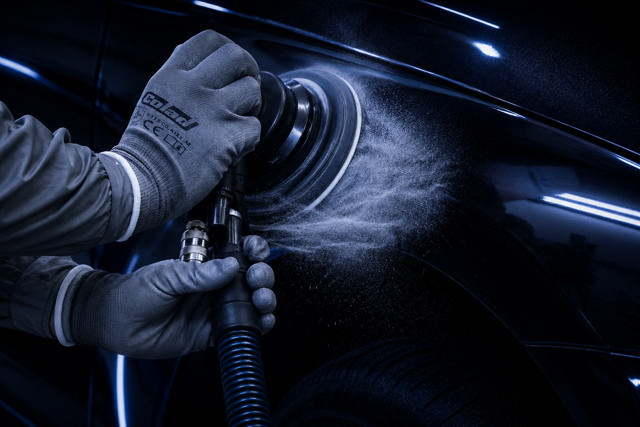
Hamach HCV 5000 TQ / CMV 8-M Industrial Extraction
What it does: Maintains steady 5000 m³/hr airflow across multiple sanding tools simultaneously
Why this product: Shop vacuums lose airflow under load (drop to 2000 m³/hr under use). Industrial systems stay steady.
Why it matters for this workflow: Consistent prep → consistent sanding requires consistent extraction airflow. HCV 5000 TQ delivers that.
Key specs: - 5000 m³/hr continuous (not peak) - Dual-phase motor (handles wet + dry) - Auto filter cleaning (maintains flow) - 24/7 duty cycle (engineered for production use)
Step 3: Neutralize Static Charge
Final dust pass that removes fine particles and charges
Final pass with anti-static tack rag. Removes fine dust (3-5 microns) and neutralizes static charge that attracts airborne particles.
1. Apply TAK 20-30 Anti-Static Tack Rag - Light, circular motions across entire panel - Grit size targets fine particles without scratching - Coverage: Entire prepped area
2. Why this step matters (mechanism): - Fine particles can't be wiped with cloth alone - Static charge attracts airborne dust during sanding - You need both removal + neutralization
3. Inspection: - Panel should feel completely clean to touch - No oily sheen (residue) - No static attraction (dust doesn't cling)
Static attracts airborne dust particles. Even after sanding, dust floats through the air and can land on your panel. Neutralizing charge = dust doesn't stick = cleaner finish.
Static charge + airborne dust → dust settles → adhesion failure after clear coat
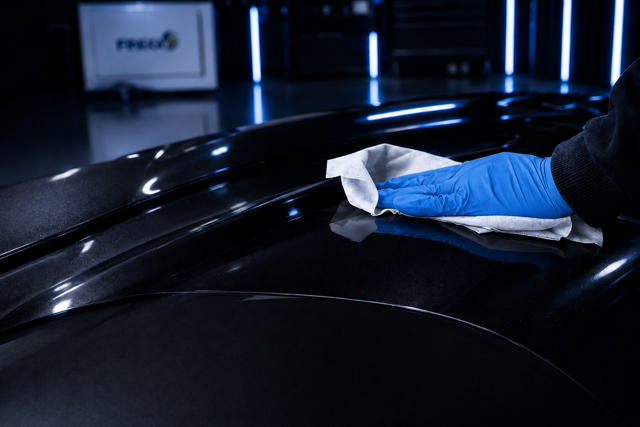
TAK 20-30 Anti-Static Tack Rag
What it does: Removes fine dust (3-5 microns) + neutralizes static charge
Why this product: Regular tack rags pick up dust but don't neutralize charge. TAK 20-30 does both.
Why it matters for this workflow: Layer 3 requires both removal + neutralization. TAK does both.
Grit specification: 20-30 micron = targets fine particles without scratching primer
Step 4: Final Inspection
Last chance to catch contamination before final coating
Visual and tactile inspection. Verify all three previous steps were executed correctly.
1. Visual inspection under bright light - Look for: oily sheen (bad), water marks (bad), dust (bad) - Panel should be completely matte and dry - If you see any residue: repeat steps 1-3
2. Touch test - Surface should feel completely clean - No sticky spots (residue) - No rough texture (contamination bonded)
3. Static test (optional) - Bring your hand close to surface (don't touch) - If dust clings: static not neutralized → repeat step 3
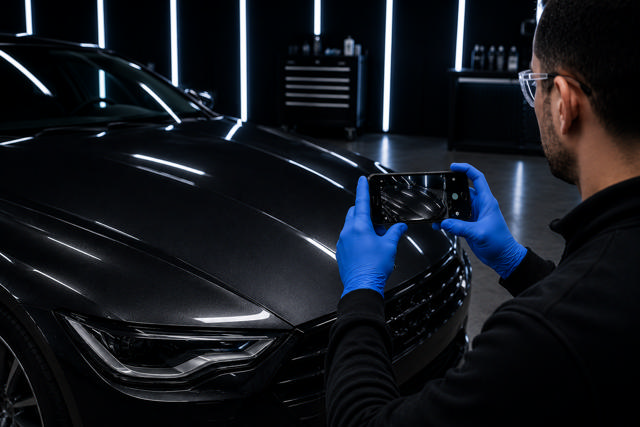
4. Document - Confirm: All four previous steps completed - Record: Products used, timing, any issues - Photo: Panel before coating (reference if problems occur)
This is your last safety net. One contaminated panel multiplies downstream. It's the only chance to catch what prep, sanding, and neutralization missed.
If you skip: One contaminated panel = multiple failures after clear coat = rework
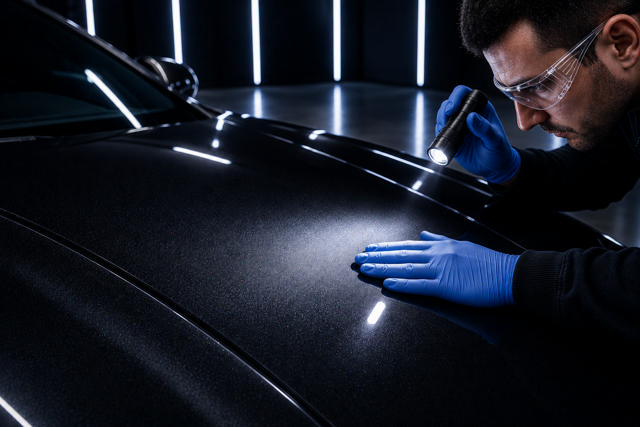
Step 5: Verify and Document
Build consistency through repetition and process tracking
Verify all steps completed. Document which products used and timing. Take photo of panel before coating.
1. Check your prep checklist - Layer 1 (prep) ✓ - Layer 2 (sanding) ✓ - Layer 3 (extraction) ✓ - Layer 4 (inspection) ✓
2. Document for your records - Products used (brand, type) - Timing (how long per step) - Any issues encountered - How you solved them
3. Take reference photo - Full panel view under shop lights - Close-up of any problem areas - Reference if issues occur after coating
4. Why this matters: - Consistency comes from repetition of the same proven process - Documentation shows what works in YOUR shop - Helps you troubleshoot when something goes wrong
You're building a system that works. Documentation is how you replicate that system every time, every panel, every week.
- Week 1: Learning the steps (feels slow, 20-30 min per panel)
- Week 2: Rhythm developing (15-20 min per panel, time savings visible)
- Week 3: Process automatic (12-15 min per panel, rhythm embedded)
- Week 4: Measurable rework reduction (30-40% fewer repairs)
Common Mistakes That Break the System
These are the three mistakes that happen most often. Each one breaks one of the three layers.
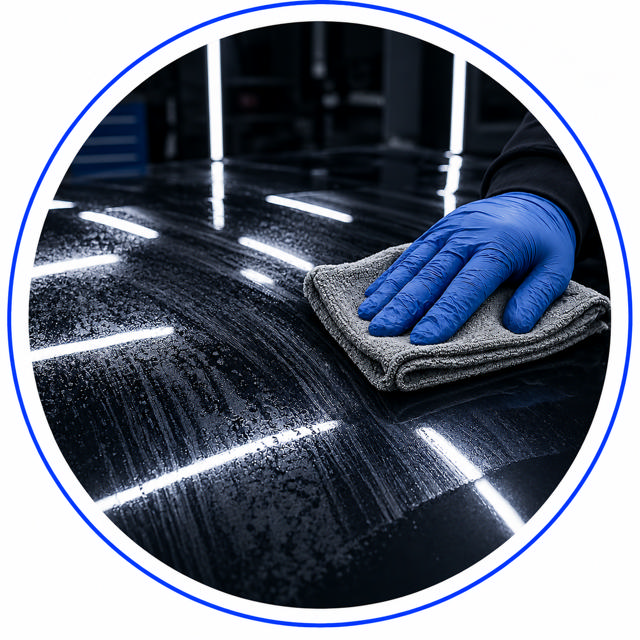
Using Generic Degreaser Instead of DGRHC
Leaves residue/streaks on the surface
Non-automotive refinishing degreasers can leave behind a thin film that interferes with sanding consistency and surface preparation. This residue attracts dust, causes uneven abrasion, and increases the risk of contamination during subsequent repair steps.
Always use DGRHC or an equivalent residue-free automotive refinishing degreaser to ensure a clean, contaminant-free surface before sanding.
⚠️ Risk: Residue contamination can lead to adhesion problems, surface defects, and potential clear coat failure after refinishing.
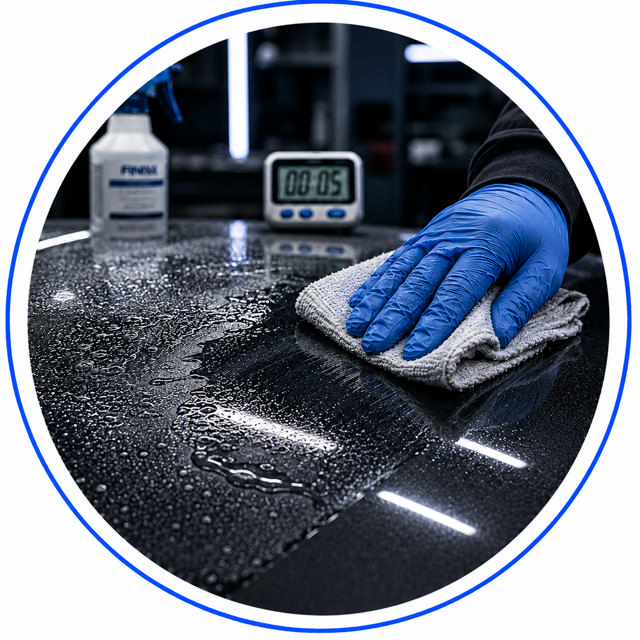
Skipping Dwell Time
You remove surface dirt, miss subsurface contamination
Chemical needs 30-60 seconds to break the molecular bonds that bond contamination to the surface. Skip the dwell time, and contamination remains bonded. Set a timer. 30 seconds minimum on light contamination, 60 seconds on heavy contamination.
⚠️ Subsurface contamination remains → dust sticks during sanding → rework
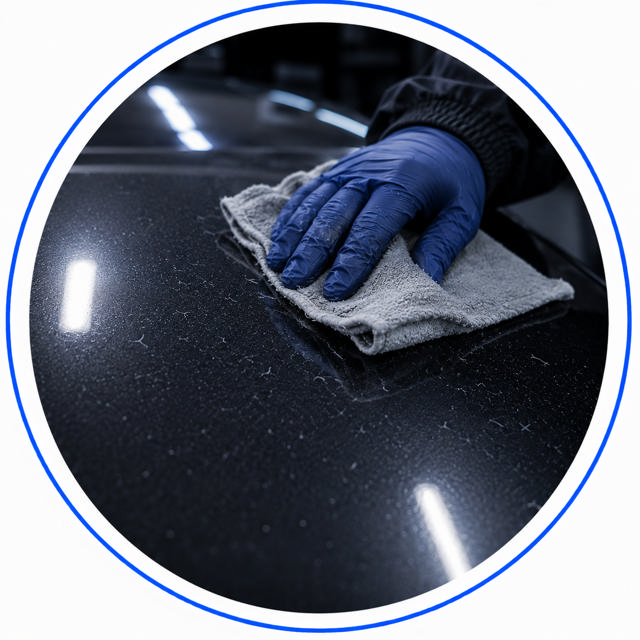
Regular Cloth Instead of Lint-Free
Fibers left on surface
Regular cloth sheds fibers. You remove contamination, then create new contamination (fibers). Use lint-free cloth or microfiber. Single-use is preferred.
❌ Fibers become dust magnets during sanding → visual defects → rework
What to Do When Something Goes Wrong
These are the predictable problems. Here's how to diagnose and solve them.
See the Workflow in Action
12-minute full walkthrough of the complete dust-free sanding workflow
This video shows each of the five steps executed by a professional technician. Note the specific products used, timing, and attention to detail at each stage.


