
Combinaison de peinture en nylon avec revêtement PU - Cat III, Type 6
Combinaison de peinture offrant le plus haut niveau de protection contre la pénétration des éclaboussures de peinture, combinée à un grand confort de port. La combinaison de peinture comporte un revêtement PU et est testée et certifié selon le règlement EPI 2016/425 de l'UE en tant que catégorie III. Elle offre une protection optimale contre les éclaboussures et empêche la contamination de la peinture par des fibres, de la poussière ou des peluches. Antistatique.
- Blanc avec bandes de carbone
- Semi-transparent
- Aspect représentatif
- Antistatique (EN 1149-5:2018) et sans poussière ni peluche
- Protège contre les projections et la pénétration des éclaboussures de peinture (EN 13034:2005+A1:2009)
- Parfaitement adapté à toutes les tailles et confortable à porter toute la journée
- Coupe ajustée autour du cou, des poignets et des chevilles, capuche réglable
- Fermeture à glissière bidirectionnelle robuste et de haute qualité
Lors de la préparation de surfaces ou de l’application de peinture, il est recommandé de respecter un certain niveau de protection contre les risques auxquels l’utilisateur est exposé. La gamme de vêtements de protection donne non seulement une protection, mais offre aussi confort et durabilité. En fonction du travail nous offrons des masques anti-poussières et des masques à peinture, des gants de protection et combinaisons de peinture, tous ces produits soit jetables soit réutilisables.
Découvrez notre gamme complète de produits de protection individuelle ici.
Eleven steps, five phases. Work top to bottom each phase sets up the next.
Phase 1 · Prepare (Step 1) Gear up and confirm your PPE fits before touching the panel.
Phase 2 · Assess (Steps 2–3) Read the damage, then clear anything in the repair's way.
Phase 3 · Isolate (Steps 4–5) Decontaminate the surface and mask off everything you're not repairing.
Phase 4 · Repair (Steps 6–8) Sand out the scratch, refine the pattern, and clean back to a checkable surface.
Phase 5 · Finish (Steps 9–11) Use heat tools safely, prepare for refinishing, and sign off on the final inspection.
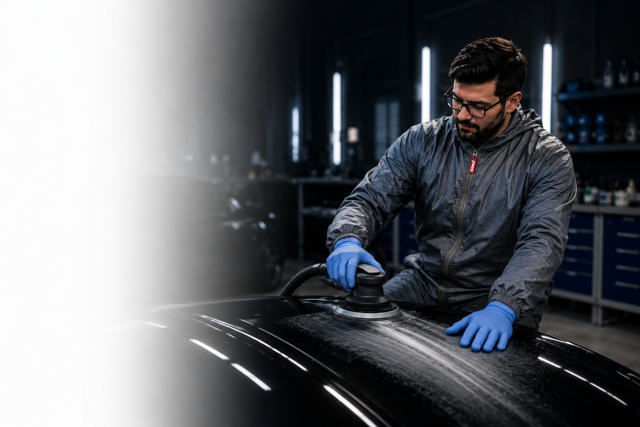
Required Personal Protection Equipment (PPE)
Before starting the repair, wear the recommended personal protection equipment:
1. Bodyguard Coverall - Article No. 5200XX
- PPE Category I
- Protects clothing against dust and workshop contamination
- Comfortable for extended use
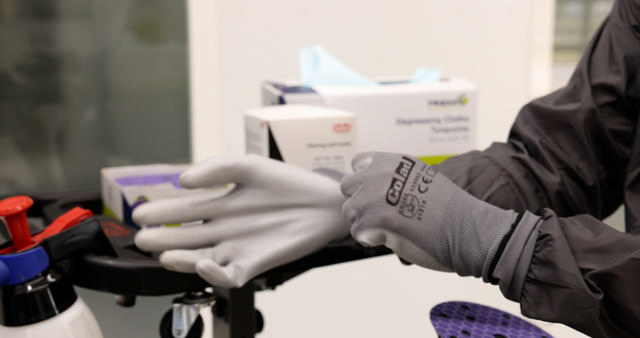
2. Cut Resistant Gloves - Article No. 53200X
- Certified according to EN 388
- Protects hands against sharp edges during trim removal and repair work
3. Safety Goggles - Article No. 5088
- Certified according to EN ISO 16321-1
- Protects eyes against flying particles, dust and debris
4. Active Carbon Mask - Article No. 5525
- Certified according to EN 149
- Helps protect against dust and possible fumes generated during repair activities
Step 1
Prepare Yourself Safely
Put on:
- BodyGuard Coverall (5200XX)
- Cut Resistant Gloves (53200X)
- Safety Goggles (5088)
- Active Carbon Mask (5525)
Ensure all PPE fits properly before beginning the repair.
Step 2
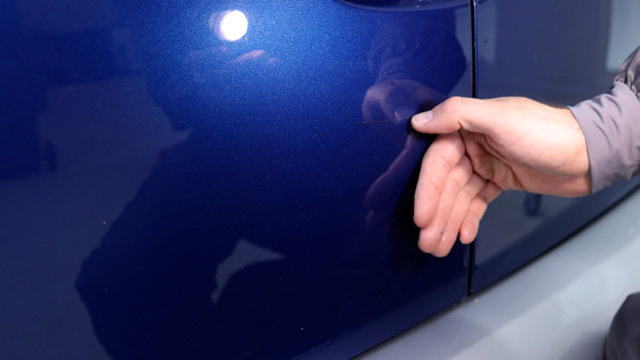
Inspect the Damage
Examine the scratched panel carefully.
Identify:
- Scratch depth
- Size of the damaged area
- Potential damage to surrounding components
Use suitable lighting to determine the correct repair method.
Step 3
Remove Obstructions
Carefully remove mouldings, trims, badges or other components that may interfere with the repair.
Safety Tip
Wear the EN 388 certified gloves (53200X) to protect your hands from sharp edges and trim clips.
Step 4
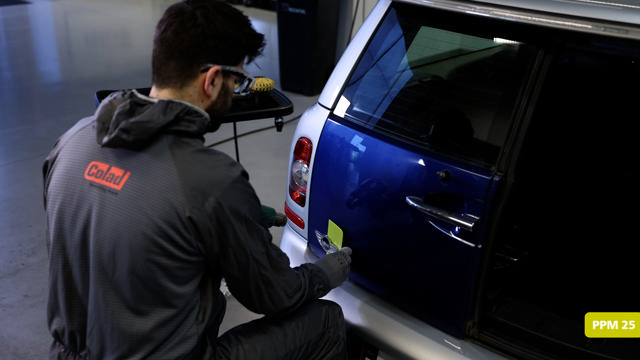
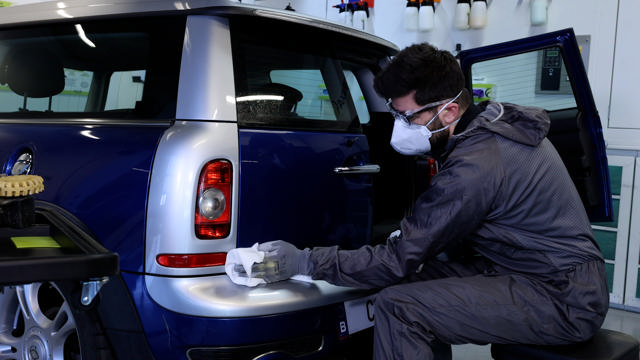
Clean and Degrease the Surface
Thoroughly clean the repair area to remove:
- Dirt
- Grease
- Silicone contamination
- Wax residues
A clean surface prevents contamination from being sanded into the paint system.
Step 5
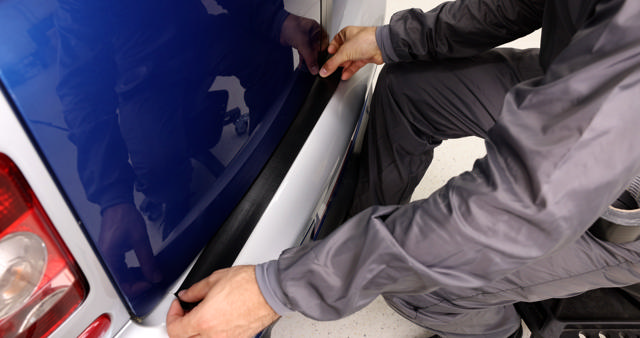
Protect Adjacent Areas
Mask surrounding panels and sensitive parts to avoid accidental damage during sanding and repair work.
Step 6
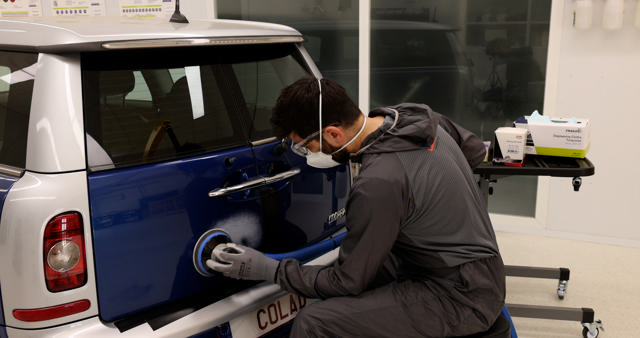
Remove the Scratch
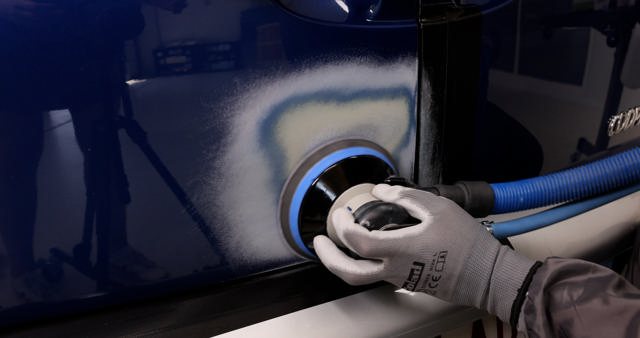
Sand the damaged area using the appropriate abrasive grade.
Work carefully within the repair area and avoid unnecessary removal of surrounding paint.
Best Practice
Use controlled pressure and inspect progress regularly.
Step 7
Refine the Sanding Pattern
Refine the initial sanding marks using finer abrasives until a uniform sanding pattern is achieved.
This step prepares the surface for polishing and finishing.
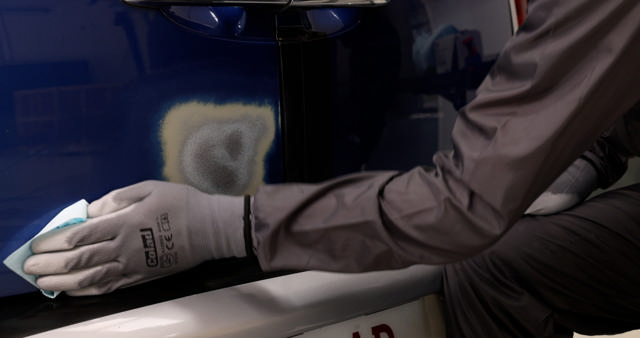
Step 8
Clean and Inspect
Remove all sanding dust and inspect the panel.
Look for:
- Remaining scratch marks
- Deep sanding scratches
- Uneven repair areas
Repeat refinement if necessary.
Step 9
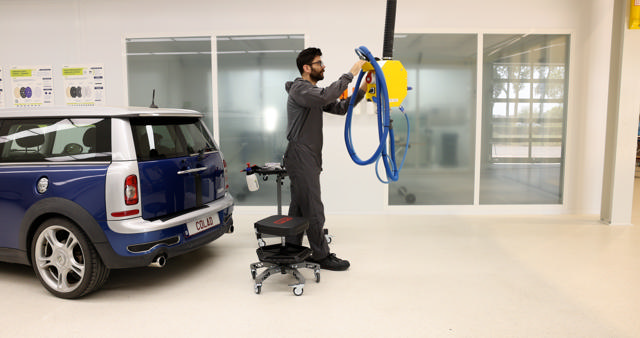
Use Heat Tools Safely
When using a heat gun or adhesive eraser:
- Wear Safety Goggles (5088)
- Wear the Active Carbon Mask (5525)
- Maintain adequate ventilation
This helps protect against airborne particles and possible fumes.
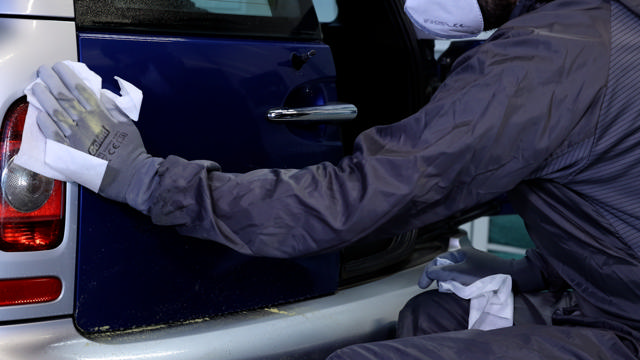
Step 10
Prepare for Finishing
Once the scratch has been removed and the sanding pattern refined, prepare the panel for compounding, polishing or the next refinishing step.
Step 11
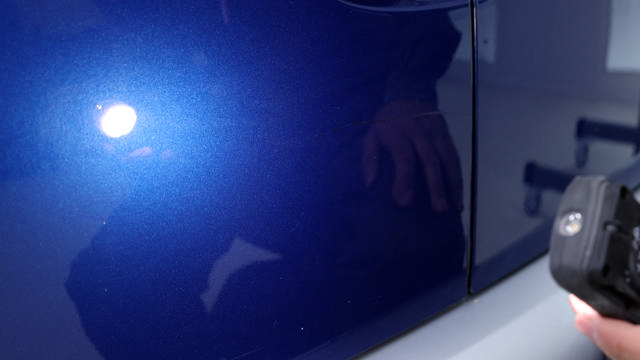
Final Inspection
Inspect the repaired area under suitable lighting.
Confirm:
- Scratch removal is complete
- Surface preparation is uniform
- No contamination is present
- The panel is ready for finishing
Best Practices
✓ Always wear the recommended PPE.
✓ Remove trims and obstructions before sanding.
✓ Clean before sanding.
✓ Use the correct abrasive sequence.
✓ Inspect frequently during the repair.


